Introduction
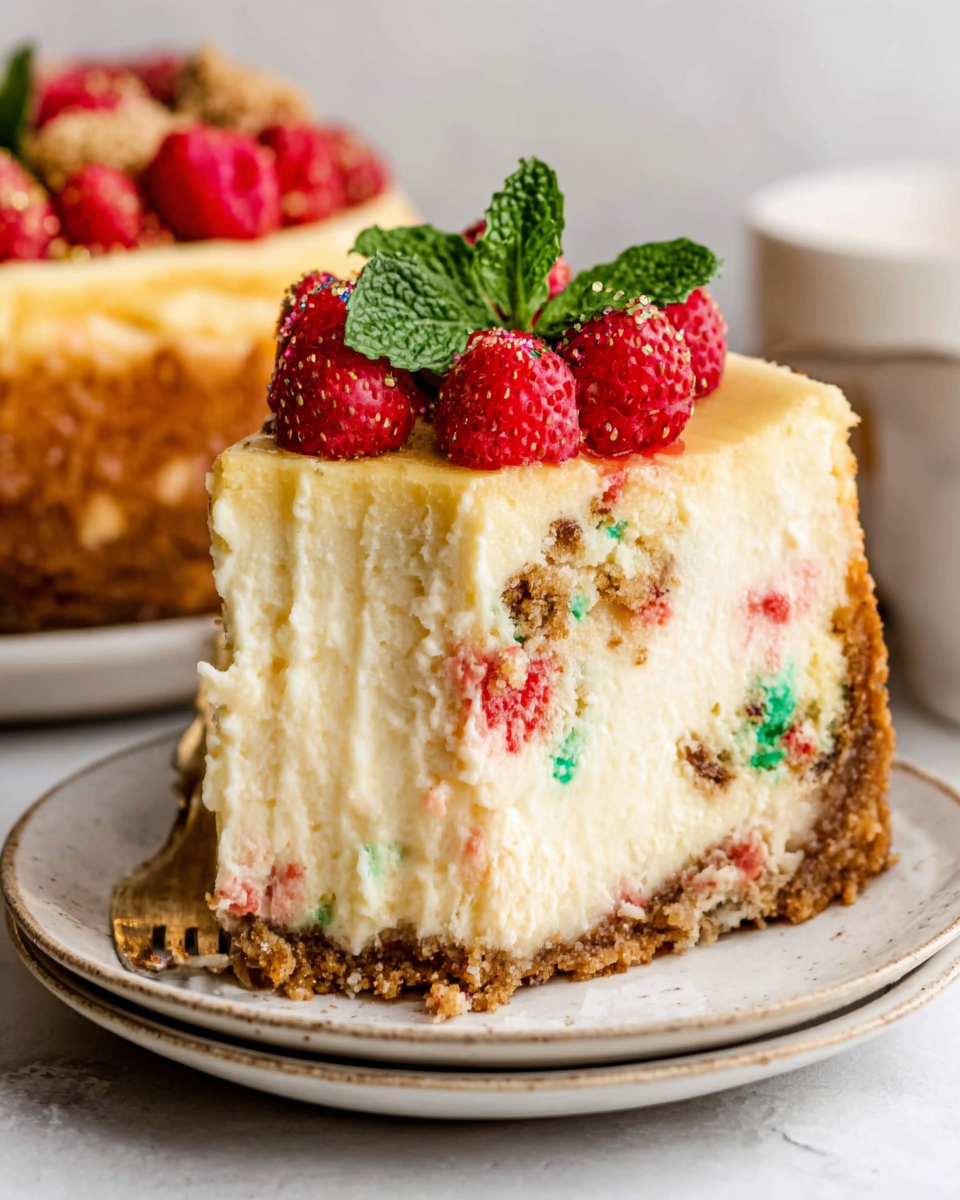
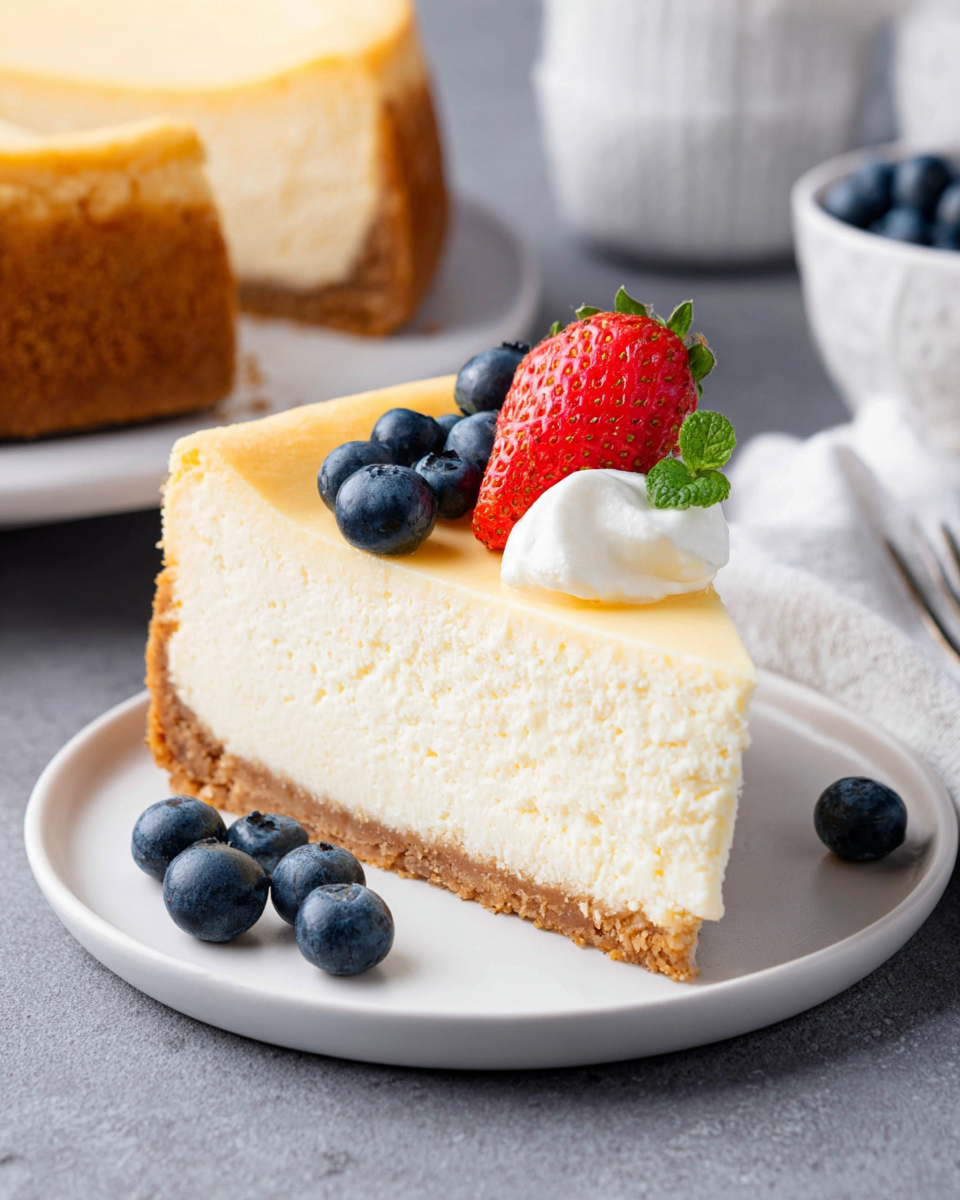
There’s something undeniably alluring about a classic New York-style cheesecake. With its dense, creamy texture and rich flavor, this dessert has become a staple in homes and restaurants alike. A perfect balance of sweetness and tanginess makes it an exquisite way to end a meal.
Baked to perfection, a traditional cheesecake presents a golden-brown top that conceals a luscious interior. Topped with a fruit compote or enjoyed plain, it satisfies every dessert lover's craving. Crafting this magical dessert in your own kitchen will not only impress your guests but also reward you with a classic slice that’s hard to resist.
Ingredients
- 2 cups graham cracker crumbs
Graham cracker crumbs form the base of the cheesecake crust, providing structure and a slight sweetness that complements the rich filling. They help create a crunchy texture that contrasts beautifully with the creamy filling. - 1/2 cup unsalted butter, melted
Melted unsalted butter binds the graham cracker crumbs together, ensuring the crust holds its shape. The richness of the butter enhances the flavor, creating a delectable base for the cheesecake. - 2 cups cream cheese, softened
Cream cheese is the star of the show, delivering that smooth and creamy texture characteristic of New York-style cheesecake. It also contributes to the cheesecake’s richness and tang, essential for balancing sweetness. - 1 cup granulated sugar
Sugar sweetens the cheesecake and enhances the flavors of the cream cheese. It also plays a key role in the overall texture, helping to create that velvety consistency. - 1 cup sour cream
Sour cream adds a delightful tanginess to the cheesecake, balancing the sweetness while contributing to its creamy consistency. It enhances moisture, preventing the cheesecake from becoming overly dense. - 3 large eggs
Eggs are essential for providing structure and stability in the cheesecake. They help bind the ingredients together and aid in achieving a creamy, rich texture, while also assisting in the cheesecake's rise during baking. - 1 teaspoon vanilla extract
Vanilla extract infuses the cheesecake with a warm, aromatic flavor. It rounds out the sweetness and enhances the overall taste, making each bite truly satisfying. - 1 tablespoon all-purpose flour
Flour helps to stabilize the cheesecake filling, preventing cracks as it bakes. It also aids in thickening the batter, contributing to the overall texture and ensuring a smooth surface.
Directions & Preparation
Step 1: Preheat the oven to 325°F (163°C).
Preheating the oven is a crucial first step, as it ensures an even baking environment. This is vital for a cheesecake, as the constant temperature helps avoid cracks and delivers a smooth, creamy texture.
Step 2: Prepare the crust by mixing graham cracker crumbs and melted butter.
Combining the graham cracker crumbs with melted butter creates the foundation for your cheesecake. This mixture should resemble wet sand and be pressed firmly into the bottom of a springform pan to form a sturdy crust.
Step 3: Bake the crust for 10 minutes and allow it to cool.
Baking the crust helps set it, providing a solid base for your cheesecake filling. Letting it cool is essential to avoid melting the filling when added. This step also enhances the crust's flavor, adding a subtle toasty note.
Step 4: In a mixing bowl, beat the softened cream cheese and sugar until smooth.
This step is vital for incorporating air into the mixture, giving your cheesecake a light texture. Beating the cream cheese alone initially ensures that it becomes silky smooth before adding other ingredients.
Step 5: Add sour cream, eggs, vanilla extract, and flour, mixing until well combined.
Introducing these ingredients adds creaminess, flavor, and stability to the batter. Mixing until just combined prevents overworking the batter, which could lead to a dense cheesecake.
Step 6: Pour the filling over the cooled crust and smooth the top.
This is where the transformation occurs, as the creamy filling flows over the crust. Ensuring a smooth top will enhance the cheesecake’s visual appeal and lead to a more even bake.
Step 7: Bake the cheesecake for 50-60 minutes.
Baking time is essential for creating the perfect texture. The cheesecake should be set around the edges but slightly jiggly in the center. This ensures that it will firm up as it cools, resulting in a creamy interior.
Step 8: Turn off the oven and leave the cheesecake inside for another hour.
Allowing the cheesecake to cool gradually in the oven prevents sudden temperature changes that can cause cracks. This gentle cooling period helps develop a smooth surface and improves flavor.
Step 9: Chill the cheesecake in the refrigerator for at least 4 hours, or overnight.
Chilling the cheesecake allows it to set properly and enhances the texture and flavor as the ingredients meld. The longer it rests, the better it will taste, making patience a virtue with this dessert.
Step 10: Serve plain or with your favorite toppings.
The final touch of serving, whether plain or with fruit, adds a personal flair. Each slice offers a rich, creamy experience that can be tailored to different tastes and preferences.

The Key to a Perfect Cheesecake Crust
A well-made crust is the backbone of any cheesecake. Using the right ratio of graham cracker crumbs to melted butter will ensure a firm, flavorful base. Pressing the mixture evenly into the pan is crucial; an uneven crust can lead to irregular baking and a compromised final product. Don't rush this step, as a well-formed crust sets the stage for the creamy filling.
Balancing Flavor with Texture
The richness of a New York-style cheesecake hinges on the balance of flavors and textures. Cream cheese and sour cream contribute to creaminess, while sugar achieves sweetness. Adding flour stabilizes this mixture, ensuring the cake holds its form without being overly dense. A smooth batter before baking will yield the best mouthfeel, allowing the cheesecake's rich flavors to shine.
Perfecting the Cooling Process
The cooling phase is often overlooked, yet it's essential in achieving the perfect cheesecake. Leaving the cheesecake in the oven with the door ajar prevents drastic temperature changes that cause cracks. A long chill in the refrigerator not only further sets the cheesecake but also allows the flavors to develop fully. These steps ensure that the cheesecake is not only aesthetically pleasing but also harmonious in taste.
FAQs
Why did my cheesecake crack during baking?
Cracks often occur due to sudden temperature changes. Ensuring your cheesecake cools slowly in the oven can prevent this issue.
What can I do if my cheesecake filling is too thick?
If your batter feels too thick, you can add a splash of milk or sour cream to loosen it slightly. Just mix gently until it's blended.
Can I make this cheesecake without a springform pan?
If you don’t have a springform pan, a regular pie dish can work. Just be careful when removing slices as the crust may not hold up as well.
How can I tell if my cheesecake is done baking?
Look for set edges and a slightly jiggly center—this is a sign that it's done but will continue to firm up as it cools.
What should I do if my cheesecake is too sweet?
To balance out excessive sweetness, you can serve the cheesecake with a tart fruit topping, like raspberries or a thin fruit glaze.
Can I use low-fat cream cheese in this recipe?
Using low-fat cream cheese may affect the texture and flavor slightly, but it can be substituted if you prefer a lighter option.
Conclusion
Creating a classic New York-style cheesecake is a rewarding experience that brings a taste of this iconic dessert into your home. With its creamy richness and satisfying crust, each bite is sure to delight your palate.
Embrace the process of making this beloved dessert, and don’t hesitate to add personal touches with toppings or flavor variations. No matter how you serve it, your homemade cheesecake is bound to impress.
Recipe Card
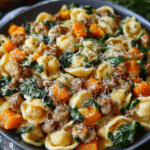
Comforting Butternut Squash Pasta with Sausage and Spinach
Ingredients
- 12 oz pasta penne or fettuccine
- 1 lb Italian sausage casings removed
- 2 cups butternut squash peeled and cubed
- 3 cups fresh spinach
- 1 small onion diced
- 3 cloves garlic minced
- 1/2 cup heavy cream
- 1/2 teaspoon nutmeg
- Salt and pepper to taste
- Olive oil for sautéing
Instructions
- Cook the pasta according to package instructions.
- Sauté the onion and garlic in olive oil.
- Add the sausage to the skillet and cook until browned.
- Incorporate the butternut squash.
- Pour in the heavy cream and season.
- Add the spinach and cooked pasta.
- Serve hot and enjoy.
Notes
Additional serving suggestions: pair with a crisp salad, garlic bread, or roasted seasonal vegetables for balance.
For make-ahead, prep components separately and assemble just before heating to preserve texture.
Taste and adjust with acid (lemon/vinegar) and salt right at the end to wake up flavors.