Introduction
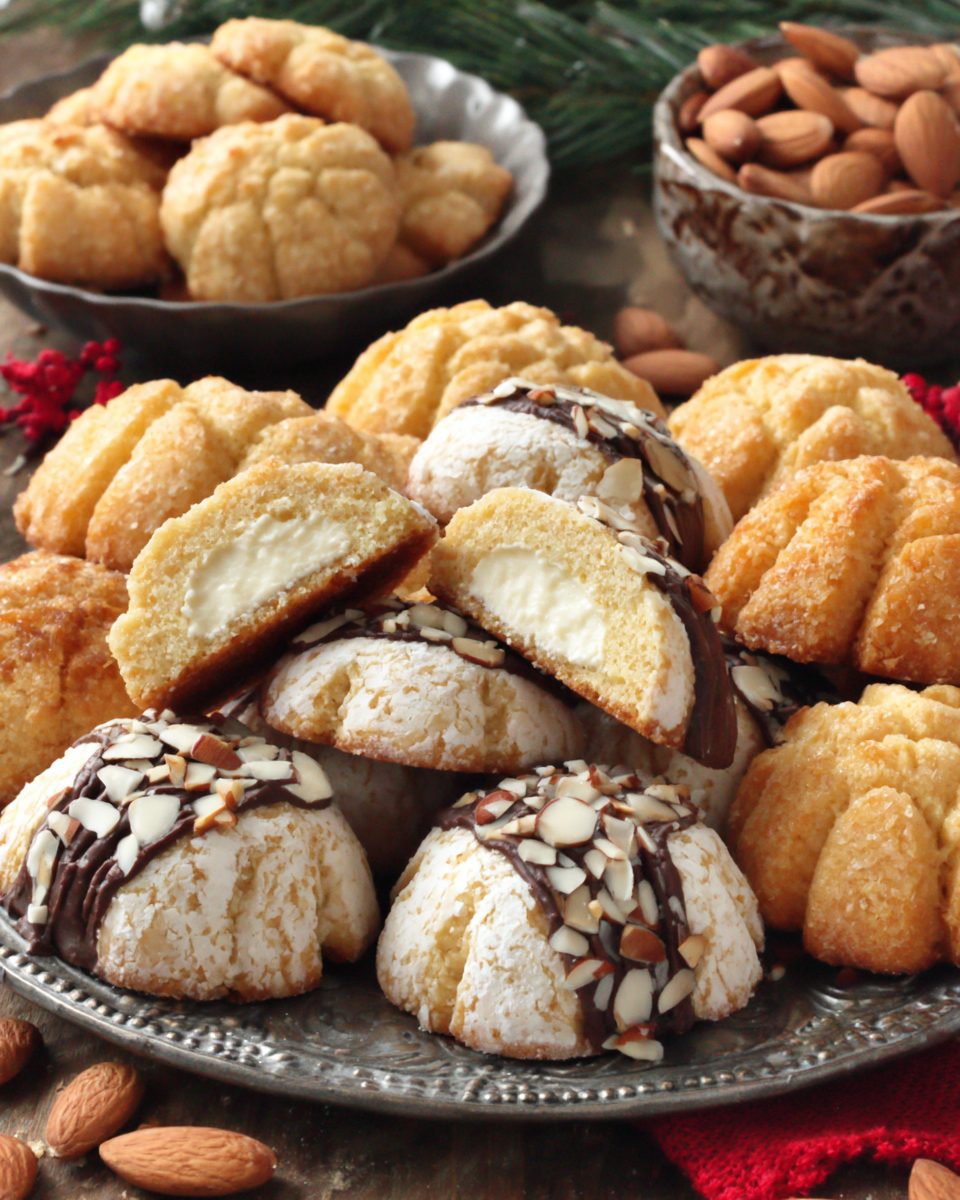
In Italy, Christmas is a time filled with rich traditions, many of which revolve around the kitchen. One of the most cherished customs is baking traditional cookies that embody the spirit of the holiday season. These cookies, often packed with flavor and festive decorations, not only provide a sweet treat but also a connection to family recipes passed down through generations.
Each region in Italy boasts its own unique variations, from the anise-flavored Cenci of Tuscany to the almond-infused Ricciarelli of Siena. These cookies are more than just desserts; they are a flavorful representation of Italian culture and celebration. Whether you enjoy them with a cup of coffee or as a sweet finish to a holiday meal, baking these cookies is a delightful way to honor tradition.
Ingredients
- 3 cups all-purpose flour
The flour forms the base of your cookies, providing structure and stability. Choosing a high-quality all-purpose flour ensures that your cookies rise properly and have a delightful texture. - 1 cup granulated sugar
Sugar not only sweetens the cookies but also contributes to their texture. It helps achieve a beautiful golden color during baking and balances the flavors of the spices and other ingredients. - 1/2 cup unsalted butter, softened
Butter adds richness and moisture, creating tender cookies. Softened butter is crucial for mixing evenly, allowing it to incorporate air for a lighter texture. - 2 large eggs
Eggs act as a binding agent, bringing the ingredients together while adding moisture. They also provide richness, improving the overall flavor of the cookies. - 1 teaspoon vanilla extract
Vanilla is a classic flavor enhancer that deepens the sweetness of the cookies. It complements the other flavors, creating a well-rounded taste experience. - 1 teaspoon baking powder
Baking powder is a leavening agent that helps the cookies rise and become light and fluffy. It reacts with other ingredients to produce carbon dioxide, which creates air pockets in the dough. - 1/2 teaspoon salt
Salt enhances the overall flavor profile of the cookies, balancing the sweetness and bringing out the richness of the butter and sugar. - Zest of 1 lemon
Lemon zest adds a fresh, bright flavor that elevates the cookies. The essential oils in the zest provide a fragrant aroma and a burst of citrus that complements the sweetness. - 1 cup shredded coconut (optional)
Coconut provides texture and a unique flavor, adding a chewy element to the cookies. This ingredient can be omitted for a more traditional taste, depending on your preference.
Directions & Preparation
Step 1: Preheat your oven to 350°F (175°C).
Preheating the oven is essential for baking cookies evenly. By bringing the temperature up to the right level beforehand, you ensure that the cookies start baking immediately once they are placed inside, leading to a consistent texture and color.
Step 2: In a large mixing bowl, cream the softened butter and sugar together.
This step is crucial for achieving a fluffy consistency, as creaming incorporates air into the batter. Use an electric mixer on medium speed for about 3–5 minutes until the mixture is light and pale in color. This creates the base for a tender cookie.
Step 3: Add eggs one at a time, followed by the vanilla extract.
Incorporating the eggs gradually allows them to blend well into the butter-sugar mixture, ensuring an even consistency. The vanilla extract enhances the flavors and aroma, making the dough more enticing.
Step 4: In a separate bowl, whisk together the flour, baking powder, and salt.
Whisking these dry ingredients together ensures they are evenly distributed, which is essential for consistent baking. This step prevents any clumping of the baking powder and salt, leading to evenly leavened cookies.
Step 5: Gradually add the dry ingredients to the wet mixture.
Mixing the dry ingredients slowly into the wet ingredients helps prevent a flour cloud and allows for better incorporation. Be careful not to overmix, as this can lead to tough cookies; mix just until the flour is absorbed.
Step 6: Fold in the lemon zest and shredded coconut if using.
Folding gently incorporates these ingredients without deflating the dough. The lemon zest will brighten the cookie's flavor while the coconut adds a delightful texture.
Step 7: Scoop tablespoons of the dough onto a baking sheet lined with parchment paper.
Using a cookie scoop or spoon, drop rounded tablespoons of dough about 2 inches apart on the prepared baking sheet. This spacing ensures the cookies have room to spread evenly as they bake.
Step 8: Bake for 10–12 minutes, or until the edges are lightly golden.
Baking time is critical; watch for the edges to turn golden, indicating the cookies are cooked. Pull them from the oven even if the centers seem soft, as they will continue to set on the baking sheet.
Step 9: Allow the cookies to cool on the baking sheet for 5 minutes before transferring to a wire rack.
Letting them cool slightly helps them firm up, making it easier to transfer without breaking. Cooling on a wire rack allows for even air circulation, preventing sogginess.

The Choice of Flavorings
Flavorings can greatly influence the character of your Italian Christmas cookies. Consider variations such as almond extract or anise for an authentic twist. Experimenting with spices like cinnamon or nutmeg can also introduce warmth and depth, making the cookies even more festive. Choose combinations that resonate with your family traditions or personal preferences.
Decorating Traditions
Many Italian Christmas cookies are adorned with beautiful, colorful decorations. Classic options include a dusting of powdered sugar or a drizzle of icing. Some families have their own traditions, using candied fruit or nuts to enhance not only the appearance but the flavor as well. Customizing decorations allows your cookies to reflect personal creativity and holiday spirit.
Regional Variations to Explore
Italy boasts a delightful array of regional cookie variations, each with distinct flavors and shapes. For example, Neapolitan Struffoli consists of tiny fried dough balls drizzled with honey, while Sicilian Buccellati are filled with a rich fruit paste. Exploring these variations can enrich your holiday baking experience, providing a taste of Italy’s diverse culinary landscape.
FAQs
Can I use whole wheat flour instead of all-purpose flour?
Yes, you can use whole wheat flour, but it may alter the texture. Consider mixing it with all-purpose flour to maintain lightness.
What if my cookie dough is too dry?
If the dough is too dry, add a teaspoon of milk or water gradually until the desired consistency is reached, ensuring it binds well without becoming overly wet.
How can I make my cookies more flavorful?
To enhance flavor, consider adding spices like nutmeg, cinnamon, or a splash of citrus juice. These additions can deepen the cookie's profile.
What should I do if my cookies spread too much while baking?
If your cookies spread excessively, chill the dough for about 30 minutes before baking. This helps solidify the fats and maintain their shape.
Can I substitute butter with margarine?
Yes, margarine can be used as a substitute, but it may slightly alter the flavor and texture. Choose high-quality margarine for the best results.
What if I want to add nuts to my cookie dough?
Nuts can be a wonderful addition; fold in toasted almonds or walnuts for crunch. Just be sure they are finely chopped to distribute evenly.
Conclusion
Baking traditional Italian Christmas cookies is a beautiful way to embrace holiday traditions. The process brings the warmth of the season into your home, encouraging family gatherings and shared moments of joy and flavor.
As you try these recipes, feel free to experiment and customize them according to your preferences or regional traditions. The beauty of these cookies lies in their versatility, making them a beloved treat for any Christmas celebration.
Recipe Card
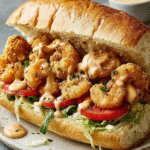
Delicious Shrimp Po’ Boy Sandwich Recipe for Home Chefs
Ingredients
- 1 pound large shrimp peeled and deveined
- 1 cup buttermilk
- 1 cup all-purpose flour
- 1 cup cornmeal
- 1 teaspoon paprika
- 1 teaspoon garlic powder
- 1 teaspoon cayenne pepper
- Salt and black pepper to taste
- Vegetable oil for frying
- 4 hoagie rolls or French bread
- Lettuce shredded
- Tomato sliced
- Remoulade sauce for serving
Instructions
- Marinate the shrimp in buttermilk.
- Prepare the breading mixture.
- Heat oil in a deep skillet.
- Bread the shrimp.
- Fry the shrimp in batches.
- Prepare the hoagie rolls.
- Assemble the sandwich.
- Serve immediately.
Notes
Additional serving suggestions: pair with a crisp salad, garlic bread, or roasted seasonal vegetables for balance.
For make-ahead, prep components separately and assemble just before heating to preserve texture.
Taste and adjust with acid (lemon/vinegar) and salt right at the end to wake up flavors.


