Introduction
In the realm of desserts, few treats balance ease and flavor as perfectly as no-bake dessert squares. The combination of creamy richness paired with fruity sweetness makes for a delightful indulgence. Among these, Pineapple Cherry Cream Dessert Squares stand out as a vibrant, refreshing option.
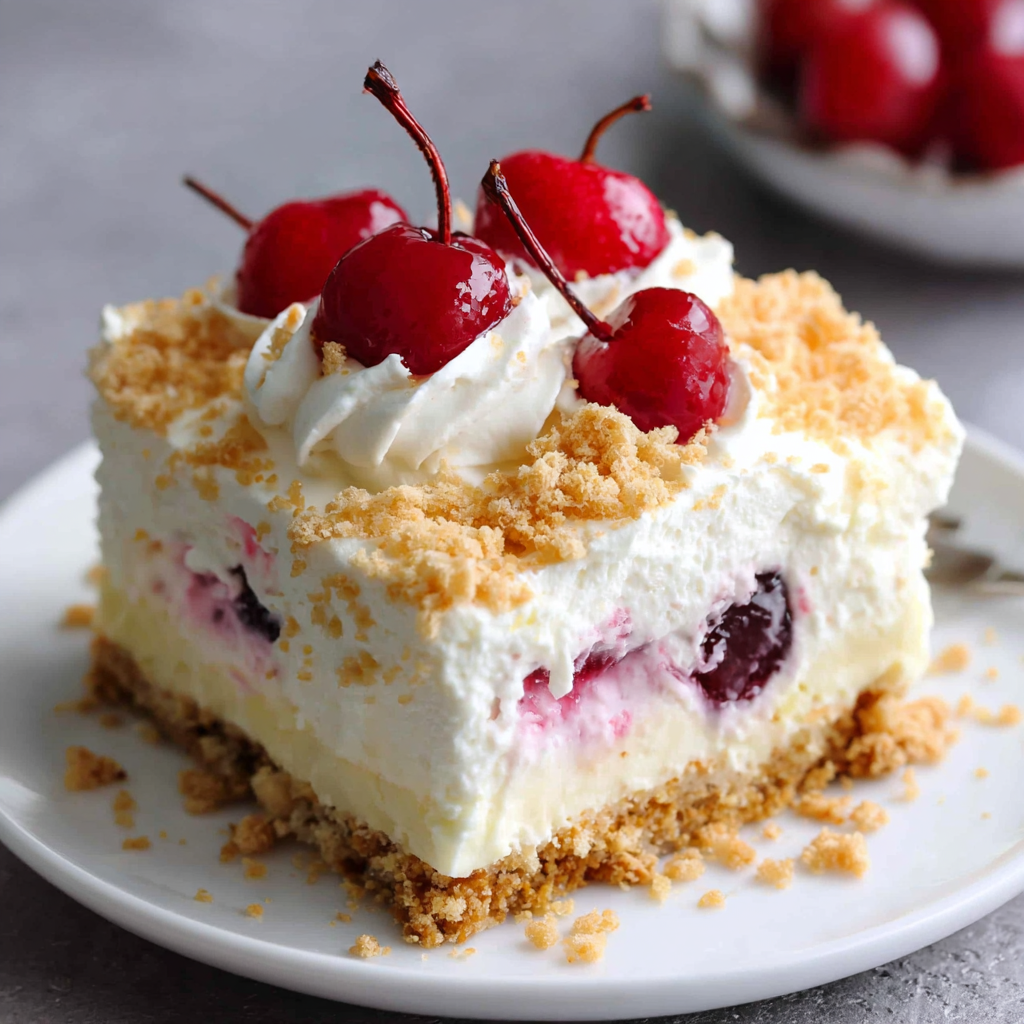
This dessert is not only incredibly quick to prepare but also a feast for the eyes and the palate. With layers of luscious cream, bright pineapple, and tart cherries, each bite offers a burst of flavor that transports you straight to a tropical paradise. Ideal for gatherings or simple family nights, they appeal to all ages.
Ingredients
- 2 cups graham cracker crumbs
Graham cracker crumbs serve as the base for your dessert squares, creating a sturdy and slightly sweet crust that adds texture. Their flavor complements the fruity filling while providing a nice crunch. - 1/2 cup unsalted butter, melted
Butter is essential for binding the graham cracker crumbs together, ensuring your crust holds its shape. It also adds richness and enhances the overall flavor of the dessert. - 1 cup cream cheese, softened
Cream cheese gives the filling a creamy texture and rich flavor, contributing to the dessert's indulgence. Its tanginess balances the sweetness of the fruits, making each bite delightful. - 1 cup powdered sugar
Powdered sugar is used to sweeten the filling without the granules interfering with the smooth texture. It dissolves quickly, blending seamlessly with the cream cheese. - 1 cup heavy whipping cream
Heavy whipping cream features prominently as the key ingredient for achieving a light, airy texture in the filling. When whipped, it adds volume and a silky smoothness to the dessert. - 1 can (15 oz) crushed pineapple, drained
Crushed pineapple not only infuses the dessert with a tropical flavor but also provides moisture, making the filling luscious and juicy. Ensure it's well-drained to avoid excess liquid. - 1 cup cherry pie filling
Cherry pie filling adds a lovely sweet and tart contrast to the pineapple. Its vibrant color also enhances the visual appeal of the dessert, making it even more enticing.
Directions & Preparation
Step 1: Prepare the crust by combining graham cracker crumbs and melted butter.
Begin by mixing the graham cracker crumbs with the melted butter until fully combined. This step is crucial as the butter acts as the glue for the crumbs, forming a solid crust. Press the mixture firmly into the bottom of a lined baking dish to ensure it holds together once chilled.
Step 2: Press the crust mixture into a greased baking dish and refrigerate.
After pressing the crumb mixture into the dish, refrigerate it for at least 30 minutes. Chilling allows the butter to set, firming up the crust. A well-chilled crust will hold its shape better when the filling is added, ensuring a tidy presentation.
Step 3: In a bowl, beat the softened cream cheese and powdered sugar until smooth.
Combining the cream cheese and powdered sugar thoroughly is key to creating a smooth filling. This step eliminates lumps and ensures the sweetness is evenly distributed throughout the mixture, leading to a uniform flavor in every bite.
Step 4: Fold in the heavy whipping cream until fully combined.
Gently folding the whipped cream into the cream cheese mixture is essential for incorporating air, giving the filling its light, fluffy texture. Use a spatula to lift the mixture from the bottom, preserving the volume you've created by whipping the cream.
Step 5: Add the crushed pineapple and carefully mix until incorporated.
Stirring in the drained crushed pineapple adds moisture and flavor to the filling, but be gentle to avoid breaking down the whipped cream. This step enhances the fruity profile of the dessert while maintaining a pleasing texture.
Step 6: Spread the cream filling over the prepared crust evenly.
Using a spatula, spread the filling evenly over the chilled crust. This step is important for creating pristine layers, which not only look appealing but also ensure balanced flavors in each square.
Step 7: Top the filling with cherry pie filling, spreading it evenly.
The cherry pie filling provides a visually stunning contrast to the creamy filling underneath. Spread it carefully to maintain the layers and create a lovely marbled effect. This step also adds dynamic flavor with its sweet-tart notes.
Step 8: Refrigerate the dessert squares for at least 4 hours before serving.
Chilling the squares is critical for them to set properly. This allows the layers to meld together while firming up the filling, making it easier to cut into clean squares. If possible, let it chill overnight for the best results.
Step 9: Cut into squares and serve cold.
Once set, use a sharp knife to cut the dessert into squares. Wipe the knife with a paper towel between cuts to maintain clean edges. Serving the dessert cold elevates the refreshing flavors, making it the perfect finish to any meal.

Choosing the Right Pineapple
Selecting fresh, ripe pineapple significantly impacts the overall flavor of your dessert squares. If fresh pineapple is unavailable, use canned pineapple in juice rather than syrup to avoid excess sweetness. Always ensure your pineapple is well-drained to maintain the ideal consistency in the filling.
Whipping Cream to Perfection
Achieving the right texture when whipping cream is an essential aspect of this recipe. Whip until you see soft peaks forming; over-whipping can lead to a grainy texture. The whipped cream should still have some volume to incorporate well into the filling without sacrificing its lightness.
Variation Ideas for Creative Spins
Feel free to get creative with your no-bake squares! Consider swapping out the cherry pie filling for fresh berries, like strawberries or blueberries, for a seasonal twist. You can also experiment with different flavored cream cheese for a unique touch that complements the fruit profile.
FAQs
What do I do if my cream filling is too thick?
If the cream filling turns out too thick, you can gently fold in a tablespoon or two of heavy whipping cream to achieve the desired consistency. Be careful not to overmix.
Can I use fresh cherries instead of cherry pie filling?
Yes, fresh cherries can be used for a more natural flavor. Pitting and halving them before layering will work nicely, though you might want to add a bit of sugar for sweetness.
How can I prevent the crust from getting soggy?
Make sure to thoroughly drain the crushed pineapple before adding it to the filling. A well-set crust from chilling also helps prevent sogginess.
What can I add to enhance the flavor profile?
Adding a teaspoon of vanilla extract to the cream filling can elevate the overall flavor. You can also sprinkle some toasted coconut on top for added flavor and texture.
What if I want to add more fruit to the filling?
You can incorporate diced fruits such as mango or kiwi into the filling. Just ensure to keep the overall moisture balanced to maintain texture.
Is there an easy way to cut the dessert squares?
To achieve clean cuts, use a hot knife; dipping it in warm water and drying it before slicing helps your squares look neat and presentable.
Conclusion
No-Bake Pineapple Cherry Cream Dessert Squares are a stellar choice for anyone looking to create a stunning yet straightforward dessert. With minimal effort, you can whip up these vibrant, flavor-packed squares that are sure to impress guests and family alike.
The combination of creamy filling, fruity layers, and crumbly crust makes for a delightful experience in every bite. It’s a dessert that brings joy with each square, perfect for any occasion or simply to indulge in at home.
Recipe Card
Notes
Additional serving suggestions: pair with a crisp salad, garlic bread, or roasted seasonal vegetables for balance.
For make-ahead, prep components separately and assemble just before heating to preserve texture.
Taste and adjust with acid (lemon/vinegar) and salt right at the end to wake up flavors.


