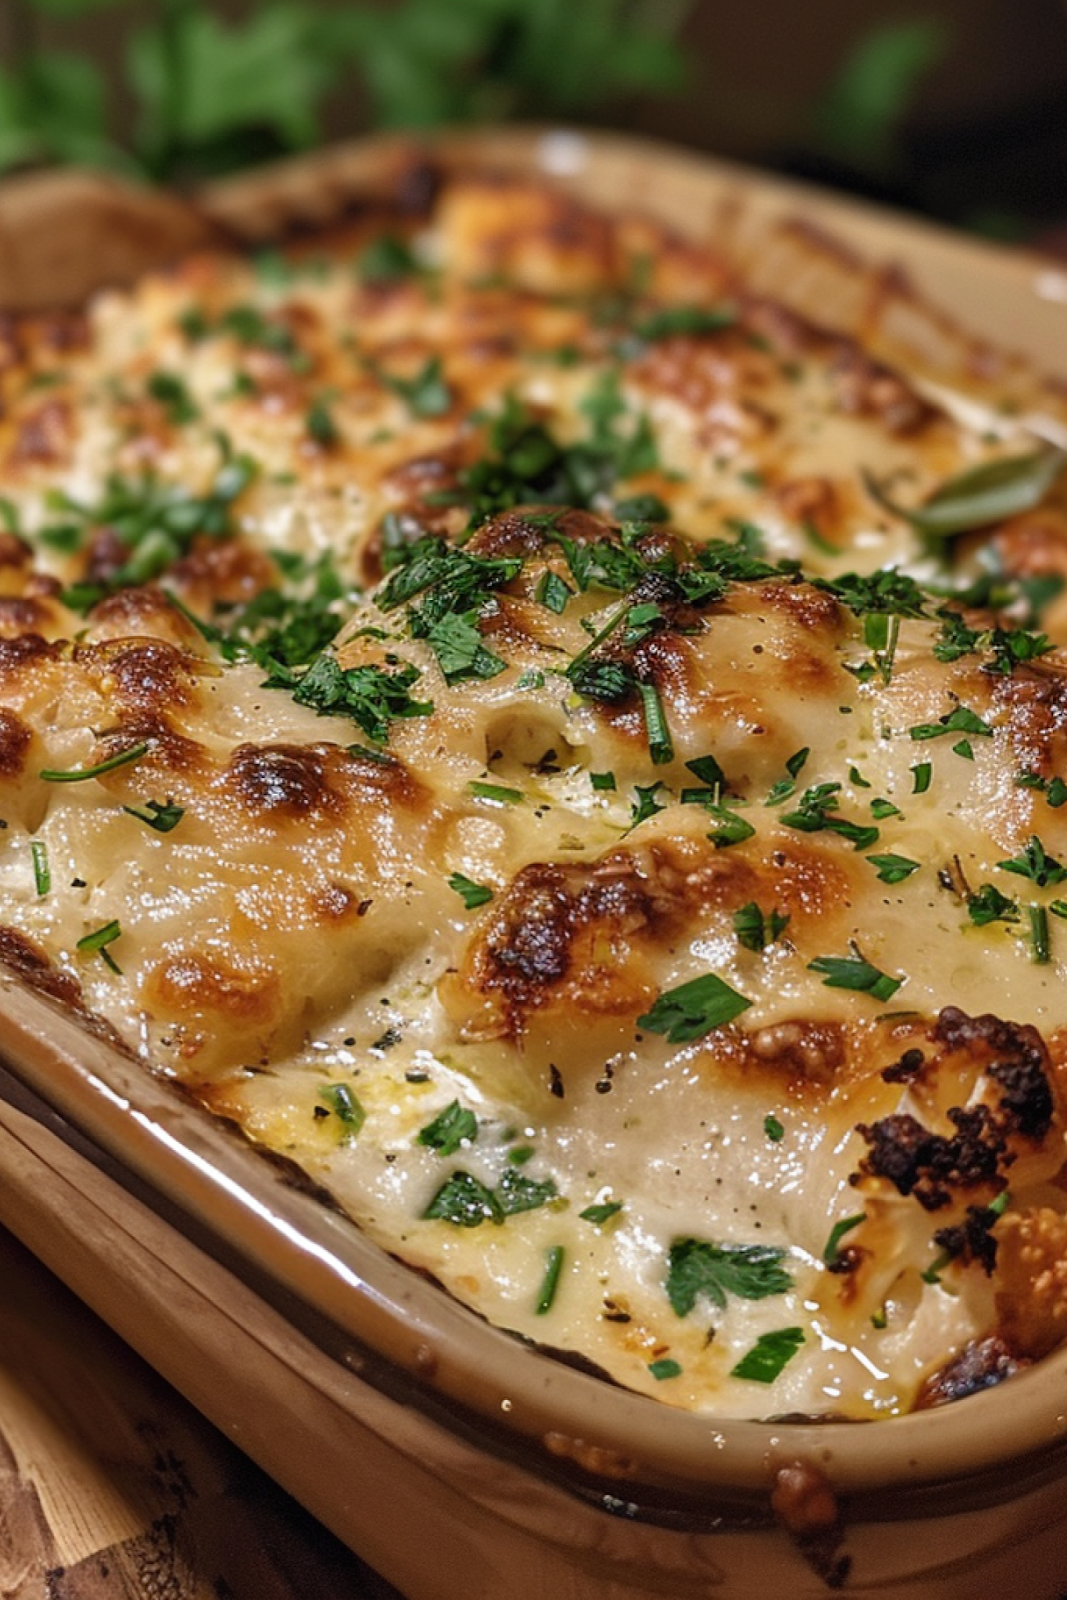
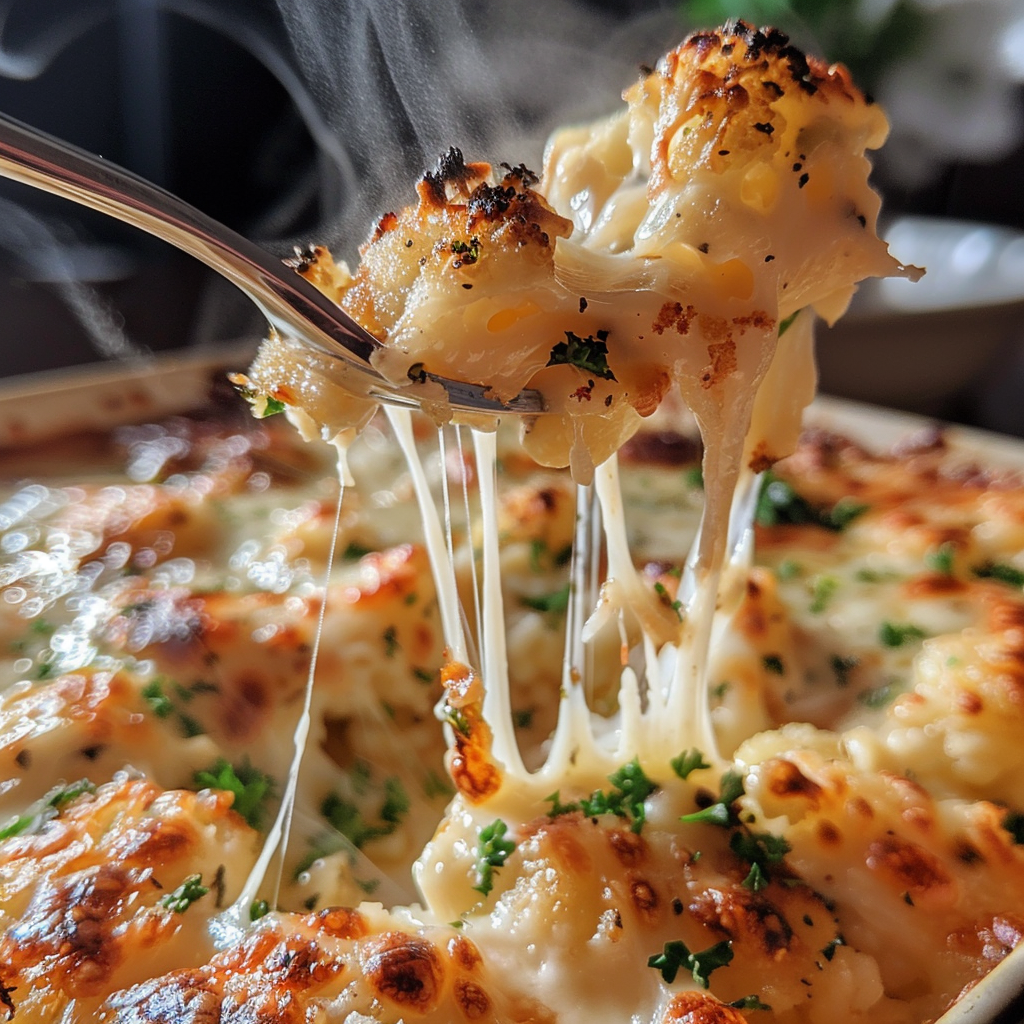
Golden, juicy chicken with a crispy Parmesan crust over buttery cauliflower rice — all in one pan, ready in 35 minutes.
📋 In This Article
Introduction
Let’s be honest: most “healthy” chicken bakes taste like sacrifice. Dry meat. Bland vegetables. A sad sprinkle of cheese that never quite delivers. This Garlic Parmesan Chicken & Cauliflower Rice Bake is different. The chicken stays juicy because we slice it into cutlets — thinner pieces cook faster and more evenly than whole breasts. The cauliflower rice soaks up every bit of fond (those browned bits stuck to the pan) instead of floating in its own water. And that mozzarella blanket on top? It pulls everything together into something you’ll actually crave.
I developed this during a phase where I was testing low-carb dinners that didn’t feel like diet food. What surprised me was how much flavor you can build in a single skillet before it even hits the oven. Sear the chicken properly, deglaze the pan with the cauliflower — suddenly you have depth that usually requires a separate sauce. Delicious Easy Low Carb Chicken Casserole Recipe.
Why This Recipe Works
Three things make this bake succeed where others fail.
First, the cutlet technique. Slicing chicken breasts horizontally creates thin, even pieces that cook through before the exterior burns. No more dried-out centers while you wait for the outside to brown.
Second, moisture management. Cauliflower rice has a reputation for turning soggy. The fix? Cook it in the same pan where you seared the chicken. Those rendered chicken fats and browned fond add flavor while the high heat evaporates excess moisture.
Third, strategic cheese placement. Parmesan folded into the cauliflower rice creates a savory, umami-rich base. Mozzarella on top gives you that pull-apart cheese moment everyone wants. Two cheeses, two different jobs.
Ingredients
For the Chicken
- 1.5 pounds boneless, skinless chicken breasts: Slice horizontally into cutlets (you’ll get 4-6 pieces)
- 1 teaspoon Italian seasoning: A blend of dried oregano, basil, and thyme
- 4 teaspoons fresh garlic, minced: Divided — 3 teaspoons for the chicken, 1 for the cauliflower
- 2 tablespoons olive oil: For searing
- Salt and black pepper: Generously season both sides
For the Cauliflower Rice Base
- 4 cups cauliflower rice: Fresh or frozen (if frozen, thaw and squeeze dry first)
- 4 tablespoons unsalted butter: Creates richness and helps the cauliflower crisp slightly
- 1/2 cup grated Parmesan cheese: Folded into the cauliflower for savory depth
- 1/2 teaspoon paprika: Optional, adds color and subtle smokiness
- 2 scallions, sliced: For mild onion flavor (optional)
For the Topping
- 1 cup shredded mozzarella cheese: Whole-milk mozzarella melts best; part-skim works too
- 1/2 cup grated Parmesan cheese: Creates a golden, savory crust
- Fresh parsley, chopped: For garnish (optional)
Instructions
- Preheat and prep. Heat your oven to 375°F (190°C). Slice each chicken breast horizontally through the middle to create two thinner cutlets. Season both sides generously with salt, pepper, and Italian seasoning. Rub 3 teaspoons of the minced garlic evenly over both sides — yes, use your hands. The garlic needs direct contact with the meat.
- Sear the chicken. Heat olive oil in a large oven-safe skillet over medium-high heat until shimmering. Add the chicken cutlets in a single layer without crowding (work in batches if needed). Cook 4-5 minutes per side until deeply golden and the internal temperature reaches 165°F (74°C). Transfer to a plate and tent loosely with foil.
- Build flavor in the same pan. Reduce heat to medium and add the butter. Once melted, scrape up the browned fond from the bottom of the pan. Those stuck-on bits are pure concentrated flavor from the Maillard reaction — hundreds of new flavor compounds created during searing. Add the remaining teaspoon of garlic and cook 30 seconds until fragrant (don’t let it brown).
- Cook the cauliflower rice. Dump in the cauliflower rice and stir constantly for 3-4 minutes. You want it tender but not mushy. If using frozen, make sure it’s thoroughly thawed and drained first — excess water is the enemy. Stir in the Parmesan, paprika (if using), and scallions. Season with salt and pepper to taste.
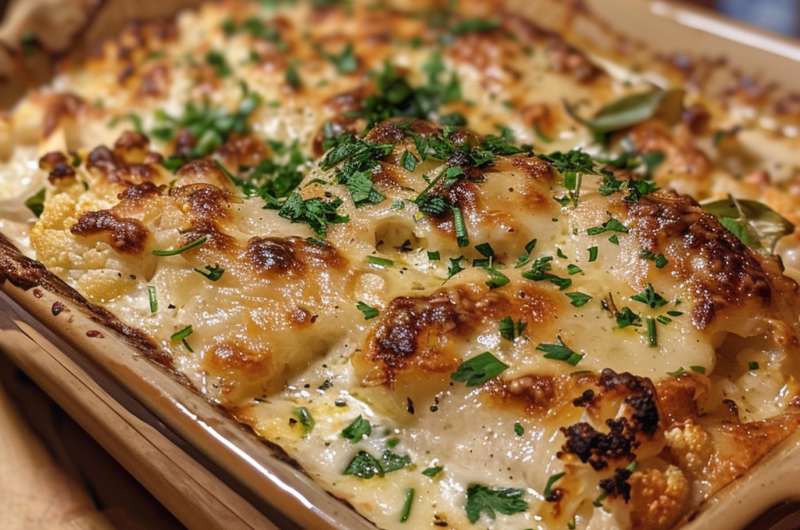
- Assemble and bake. Nestle the chicken cutlets into the cauliflower rice. Top each piece with additional Parmesan, then blanket everything with mozzarella. Bake 15-20 minutes until the cheese is melted and bubbling. For extra browning, run it under the broiler for 2-3 minutes — watch closely.
- Rest briefly. Let the bake sit 5 minutes before serving. This allows the cheese to set slightly so it doesn’t slide off in one giant sheet when you scoop it out.
⚠️ Common Mistakes to Avoid
Overcrowding the pan during searing. When too many cutlets hit the pan at once, the temperature drops and you get gray, steamed chicken instead of golden-brown seared meat. Cook in batches and give each piece room to breathe.
Skipping the cauliflower rice drain. Frozen cauliflower rice releases a surprising amount of water. If you dump it straight from the bag into the pan, you’ll end up with a soggy, waterlogged base. Thaw it first, then squeeze it in a clean kitchen towel or press it in a sieve. The first time I skipped this step, the result was noticeably worse — watery and bland.
Under-seasoning the chicken. Chicken breast is mild — it needs aggressive seasoning to stand up to the rich cheese. Don’t be shy with salt, pepper, and garlic.
Burning the garlic. Garlic goes from fragrant to bitter in seconds. Add it to the pan last, cook it briefly, and never let it brown past pale gold. Burnt garlic will make the entire dish taste acrid.
Overbaking. The chicken is already cooked through from searing. The oven time is just for melting cheese and heating everything together. Twenty minutes is usually plenty — any longer and the chicken dries out while the cauliflower turns to mush.
Variations
Add vegetables. Spinach wilts beautifully into the cauliflower rice during the last minute of stovetop cooking. Mushrooms need more time — sauté them before adding the cauliflower. Bell peppers add sweetness and crunch; dice them small so they cook through.
Swap the protein. Shredded rotisserie chicken works if you’re short on time (skip the searing step). Shrimp cooks even faster — sear 2 minutes per side. Boneless chicken thighs stay juicier than breasts but need an extra minute per side.
Change the cheese. Provolone melts similarly to mozzarella with a sharper, more pronounced flavor. Sharp cheddar creates a bolder crust but doesn’t pull as dramatically. A mix of mozzarella and provolone gives you the best of both worlds.
Make it spicy. Red pepper flakes in the cauliflower rice add gentle heat. Diced jalapeños bring fresh spice. A dash of hot sauce in the base works too — just taste before adding more.
Add a tomato element. A quarter cup of marinara or crushed tomatoes stirred into the cauliflower rice creates a chicken Parmesan vibe. This increases carbs slightly but adds moisture and acidity that cuts through the richness.
Storage
Refrigeration. Leftovers keep 3-4 days in an airtight container in the refrigerator. The cheese texture changes slightly — it won’t be as gooey when reheated — but the flavor holds up well.
Freezing. You can freeze this bake for up to 2-3 months, though the cauliflower rice texture suffers slightly. Thaw completely in the refrigerator before reheating.
Reheating. The oven is best: 350°F (175°C) for 20-25 minutes until heated through. Microwave works in a pinch but makes the cauliflower watery. Cover with foil for the first 15 minutes to prevent the cheese from over-browning, then uncover for the last 5 minutes.
Meal prep tip. Assemble the entire bake (without pre-cooking the cauliflower) and refrigerate up to 24 hours before baking. Add 5-10 extra minutes to the oven time since it goes in cold.
💡 Pro Tips
Use an instant-read thermometer. Chicken is done at 165°F (74°C). This is the temperature where proteins have fully denatured and harmful bacteria are eliminated. Guessing leads to either undercooked meat or dry, overcooked breasts. A thermometer removes all doubt.
Don’t skip the rest period. When meat comes off heat, the juices are pushed toward the center by contracting muscle fibers. Resting allows those fibers to relax and reabsorb moisture. Cut into the chicken immediately and you’ll lose about 40% of the juices onto your cutting board. Wait five minutes and that liquid stays in the meat where it belongs.
Grate your own Parmesan. Pre-grated cheese contains anti-caking agents like cellulose that prevent smooth melting. A block of Parmesan grated on the large holes of a box grater melts into the cauliflower rice properly and tastes significantly better.
Control cauliflower texture. For firmer cauliflower rice, cook it less (2-3 minutes). For softer, more rice-like texture, cook longer (5-6 minutes). The cauliflower continues cooking in the oven, so pull it slightly underdone if you prefer texture.
Frequently Asked Questions
+Why is my cauliflower rice soggy?
Excess moisture is usually the culprit. Frozen cauliflower rice releases water as it thaws — drain it thoroughly or cook it longer to evaporate liquid. Also, avoid covering the pan while cooking the cauliflower; trapping steam creates mush.
+Can I use chicken thighs instead of breasts?
Absolutely. Boneless, skinless thighs stay juicier and are harder to overcook. They need about 5-6 minutes per side when searing. The finished dish will be slightly richer and more tender.
+How do I know when the chicken is fully cooked?
The most accurate method is an instant-read thermometer inserted into the thickest part: 165°F (74°C). Without a thermometer, the meat should be opaque throughout with no pink, and the juices should run clear. But honestly, get a thermometer. They’re inexpensive and eliminate guesswork.
+Can I make this dairy-free?
You’d need to replace the butter with olive oil, skip the Parmesan, and use a dairy-free mozzarella alternative. The result won’t have the same richness or flavor depth, but it’s possible. Nutritional yeast can add some of the umami you lose from Parmesan.
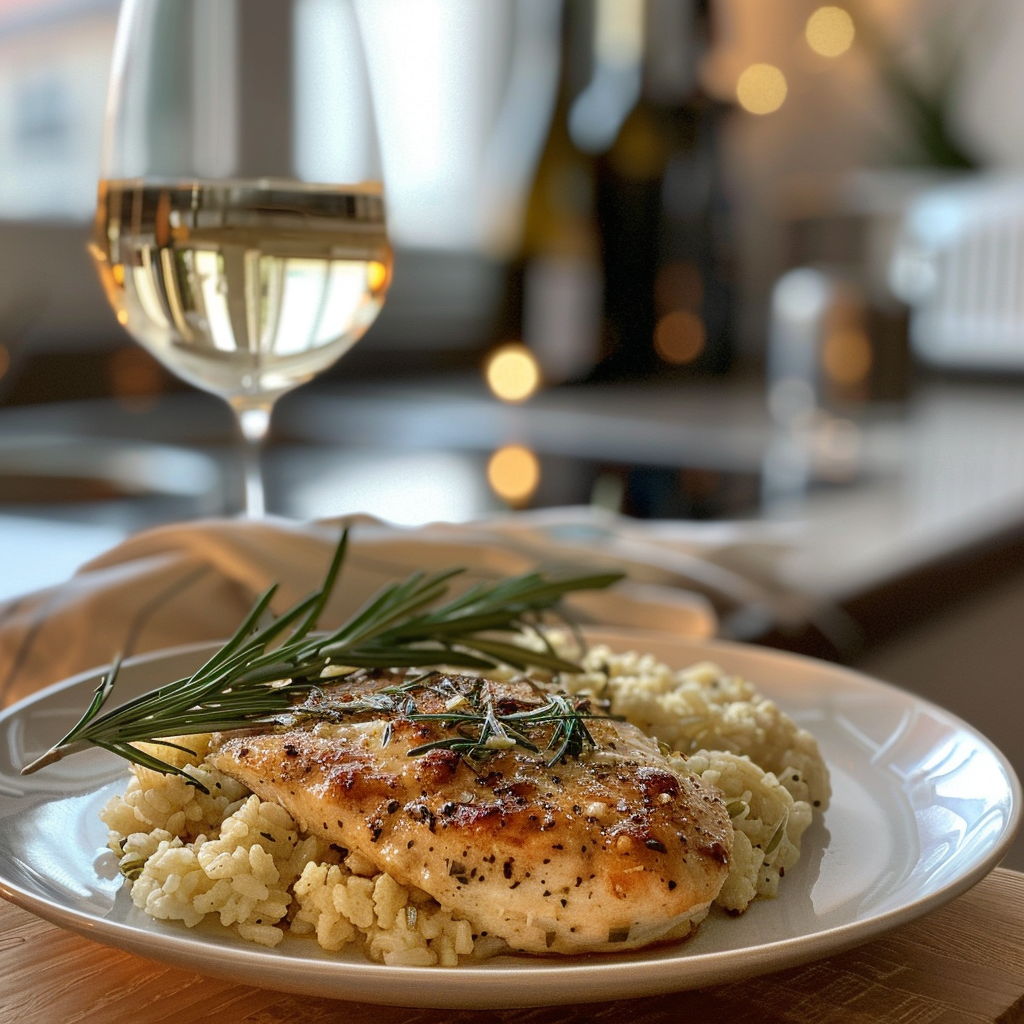
+What sides go with this bake?
Since this is already a complete meal with protein and vegetables, you might add a simple green salad with vinaigrette for freshness. If you’re not low-carb, crusty bread for soaking up the flavorful pan drippings is never a bad idea.
+Can I prep this ahead of time?
Yes. Slice and season the chicken up to 24 hours in advance (store covered in the refrigerator). You can also assemble the entire bake and refrigerate it unbaked for up to a day. Add extra baking time if it goes into the oven cold.
📌 Pin this Recipe for Later!